
Resident Evil Requiem – Sun, Moon, and Stars Quartz Guide
Resident Evil Requiem is finally here! Get hyped!
As players step into the harrowing adventures of Leon and Grace, they’ll quickly discover that Resident Evil Requiem delivers all the hallmarks of the franchise, such as relentless zombies to overcome and intricate puzzles to unravel. Each small challenge pushes the story forward, but the ultimate objective in the game’s opening area is clear: unlocking the front door of the clinic.
The solution? Collecting three Quartz pieces scattered throughout the area, of course! These serve as the key to progression, and gathering them is essential to advancing in the game.
In this guide, we’ll walk you through where to find each Quartz piece, ensuring you make it through the night in Resident Evil Requiem.
Resident Evil Requiem – Sun, Moon, and Stars Quartz Guide
This first challenge in Resident Evil Requiem is layered and requires collecting key items to unlock progression. In this case, the objective is to gather the Moon, Sun, and Star Quartz pieces to open the door to the next area of the map.
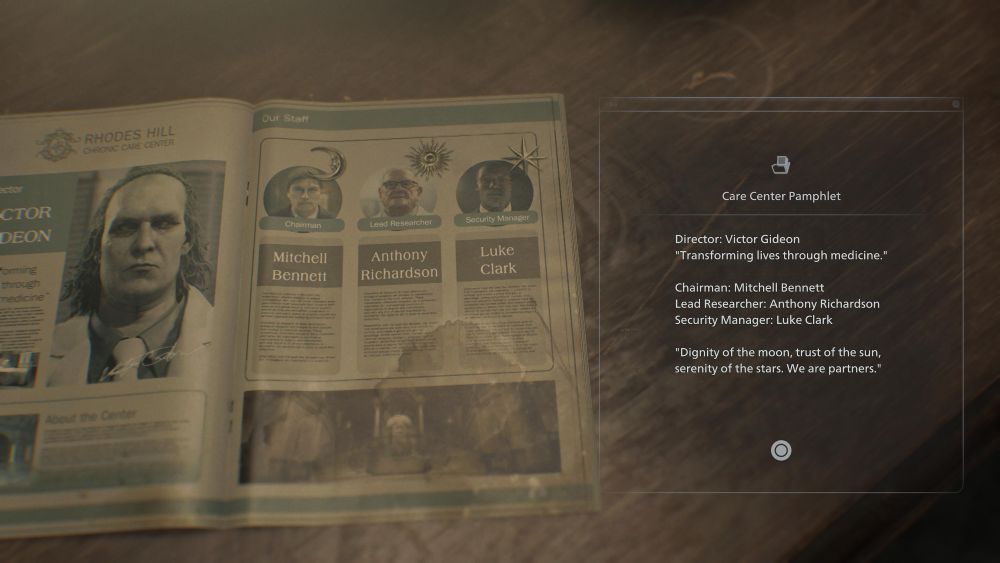
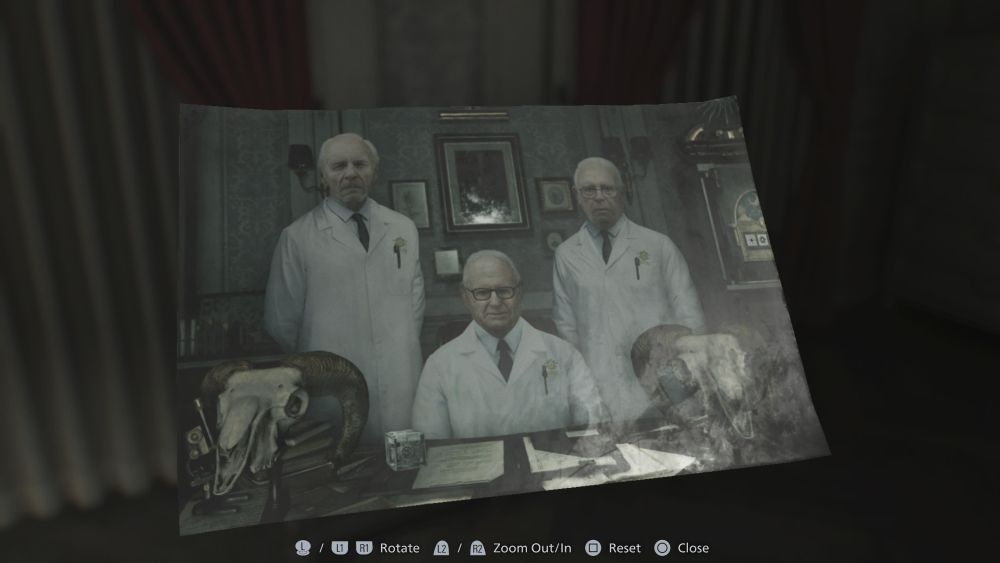
Your first lead comes from the Guard Office just across the front desk, below the main stairs, where you’ll find the storage box and the typewriter for saving your progress. On the desk lies a magazine featuring the heads of staff at the Rhodes Hill Clinic, and atop each executive’s profile is a suspicious symbol.
From here, obtaining a key card will grant access to the West Wing. This marks the beginning of your hunt, setting you on the path to escape the eerie halls of Rhodes Hill once and for all.
Where To Find The Moon Quartz
Playing as Grace, you’re armed with nothing more than a single bullet in the Requiem revolver, which is a parting gift from Leon. Navigating the narrow corridors of the West Wing soon leads you into a cramped kitchen, where you’ll encounter one of Resident Evil Requiem’s more memorable foes: The Chef.
That lone bullet won’t be enough to bring him down, and his cleaver can end your run in an instant. The smart move is to evade him, so wait for him to take a few steps back, slip past the kitchen and the succeeding areas like the dining room and hallway until you reach the second floor. Just beyond the Bar and Lounge area lies the Chairman’s Office, where the next piece of the puzzle awaits.
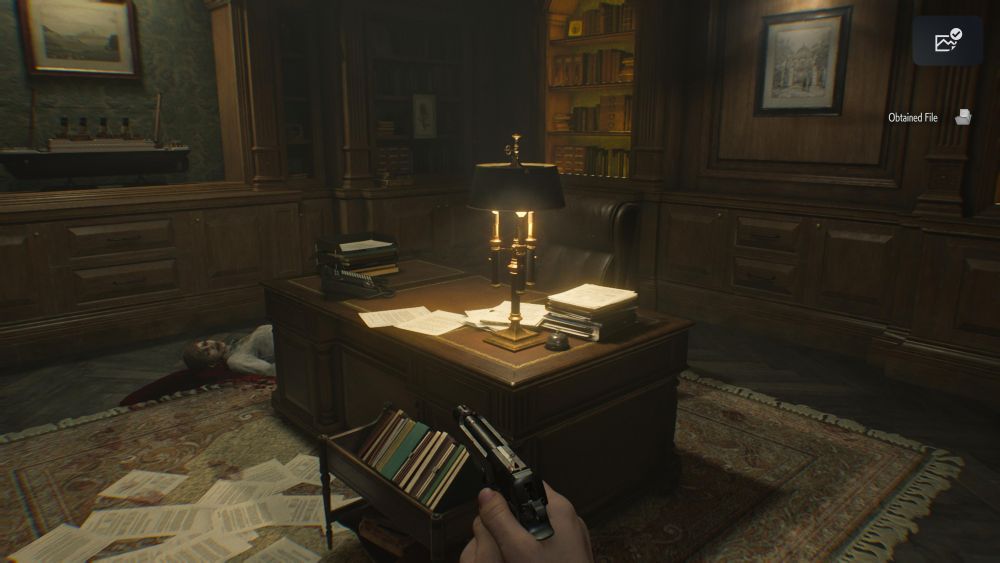
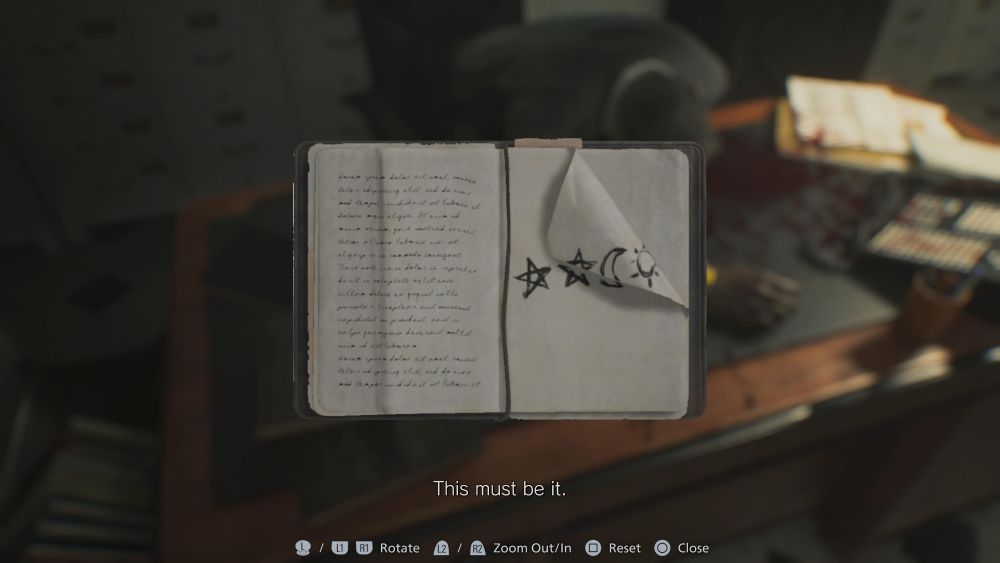
Inside, you’ll discover a torn notebook containing the solution to a nearby puzzle box. Unfortunately, the office is already occupied, with the zombified Chairman feasting on his latest hire.
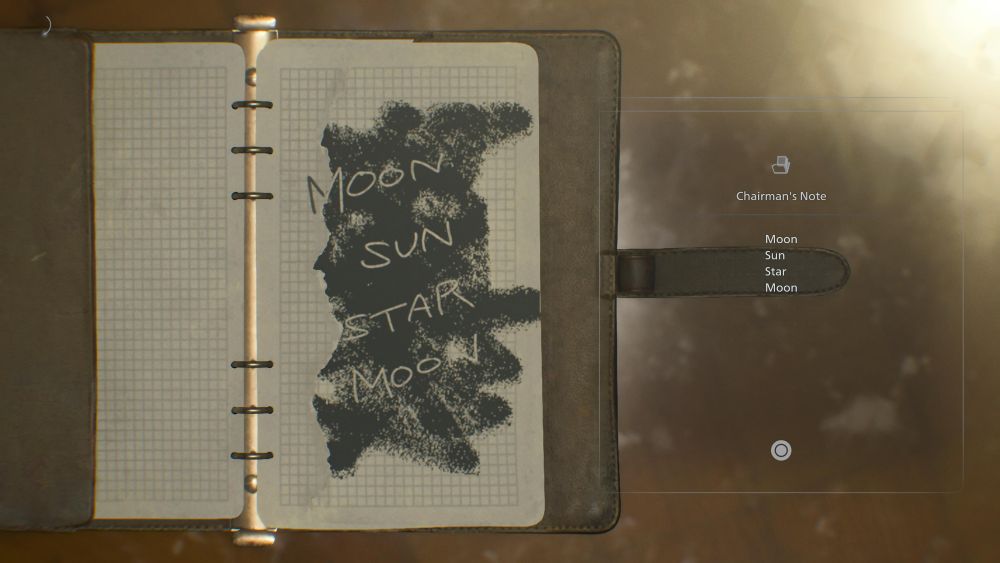
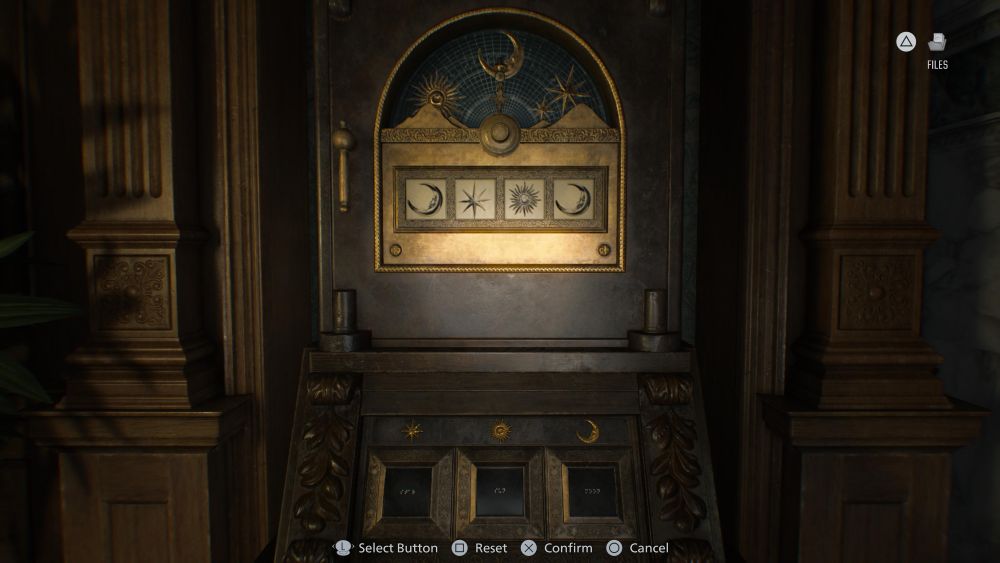
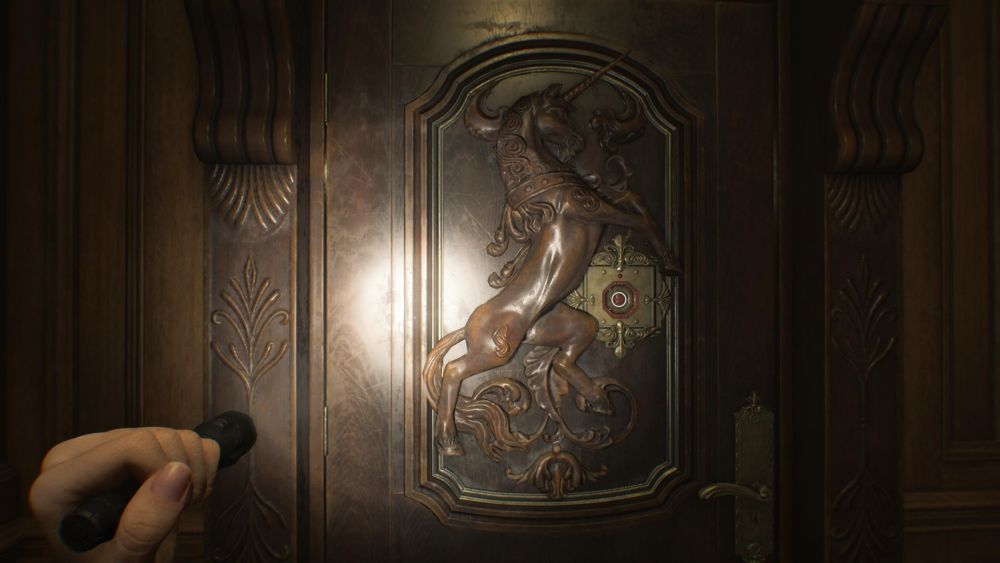
After dispatching him, collect the pencil from his desk and record the solution in your file. Use the pencil on the torn notebook to uncover the code Moon-Sun-Star-Moon. Inputting the code on the nearby panel will reward you with the Moon Quartz, the first of three required to progress.
Among the items you’ll get along the way is a red gem, which you can use to open that previously locked door (with an indent) near the kitchen on the first floor. Beware, the chef is making the rounds, so don’t get caught while walking around!
This room also holds containers where you can exchange the antique coins you have collected. If you’ve been getting all the coins up until now, you should have around 4 or 5, so you can even go ahead and exchange 3 coins for a hip pouch so that you can expand your inventory slots by two.
Head to the corner and grab the East Wing Key Card off the dead zombie’s hand by the table. Now, you’ll get to explore a whole new area in Resident Evil Requiem!
Where To Find The Sun Quartz
Head over to the East Wing of the clinic. This grants access to a new area overseen by the Lead Researcher. Following the familiar pattern, his office is located on the second floor.
A quick note: as highlighted in our Resident Evil Requiem review, Grace gains the ability to craft items using infected blood, and the tool for this mechanic can be found in this very area. While it’s tempting to experiment, remember your primary objective: collect the Quartz pieces and survive.
Inside the Lead Researcher’s office, the puzzle isn’t as straightforward as the Chairman’s. The researcher has a penchant for selfies, and his office is littered with photos. Among them lies the solution to the puzzle box, cleverly hidden in one of the images.
If you haven’t pieced it together yet, here’s the sequence spelled out: Star, Sun, Moon, Sun.
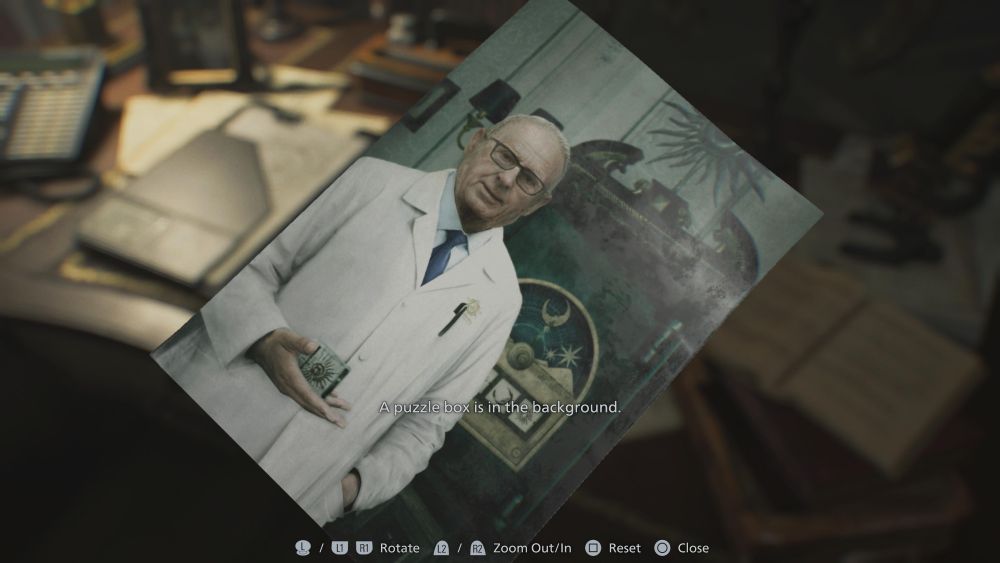
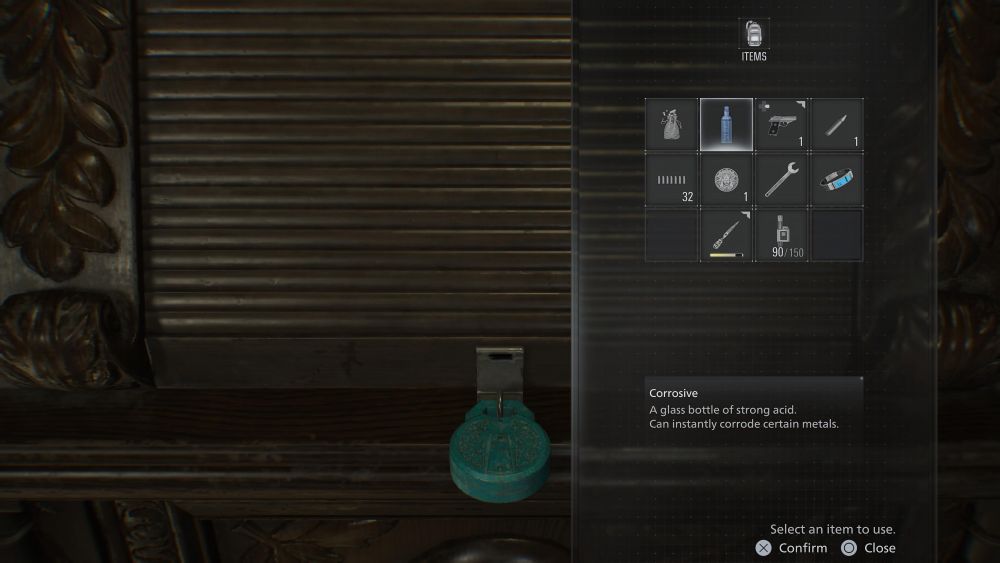
Locate the two photos that reveal the solution, then head to the puzzle box in the corner. But in true Resident Evil Requiem fashion, there’s a twist because the lock must first be melted with a corrosive found in the Conference Room just beside the Lead Researcher’s Office, as mentioned in the note.
On your way there, you’ll acquire a Level 1 wristband. You’ll also meet a new foe that will block your path towards the conference room, so the only way around it is to lure the monster downstairs and then make your way back up. From here, you can either sprint through the corridors to grab the corrosive or clear the path by taking down the enemies. Be warned: the zombies inside the conference room here are particularly aggressive, and yes, the second opera singer makes an appearance for added chaos.
Once you’ve secured the corrosive, burn through the lock and claim the Sun Quartz by using the correct code – Star, Sun, Moon, Sun. Two down, one to go, and the nightmare that is Resident Evil Requiem is far from over.
Where To Find The Star Quartz
Saving the most intense challenge for last, the Star Quartz in Resident Evil Requiem is hidden within the Security Manager’s Office beside the Isolation Ward in the East Wing, locked behind a Level 2 security clearance. To gain access, you’ll need to complete a grisly task: reviving the corpse in the East Wing’s Examination Room.
This requires collecting two vital organs — the Artificial Heart from the Cold Storage in the West Wing and the Artificial Lungs from the Organ Transport Box in the Garage in the West Wing. Opening the Cold Storage will require a Wrench, which you hopefully picked up along the way.
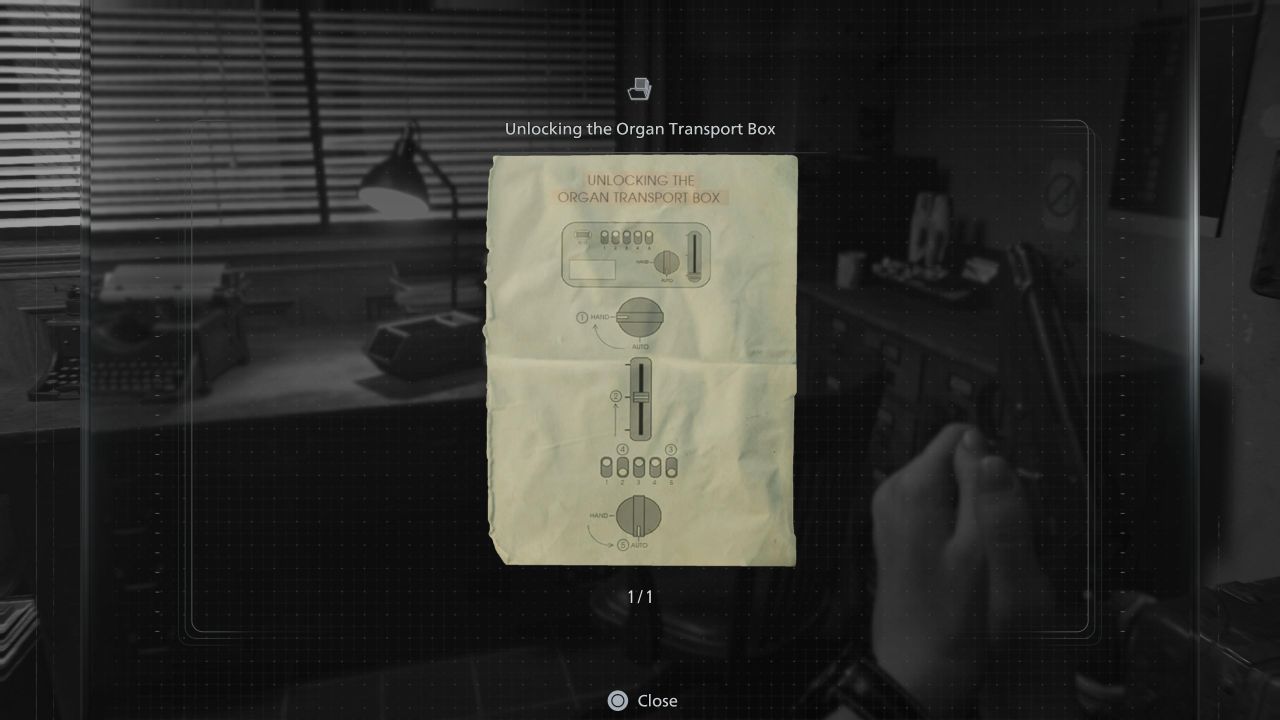
For the lungs, you’ll have to open the organ transport box, which is pretty easy if you grabbed the file with the clue on how to open it. Just follow the numbered sequence, and the box will open easily.
Once secured, head back to the Examination Room in the East Wing, use them to revive the zombie, defeat him, and claim his wristband. With this, you can bypass the Level 2 lock.
Inside the Security Manager’s Office in the East Wing, the solution to the final puzzle box is conveniently placed on his desk: Star, Star, Moon, Sun. But wait, there’s a twist! The panel is missing the symbols, and you’ll need the help of the blind girl from the Medication Room to read which one is which. Thankfully, you can now open the Level 3 door, as the Security Manager is wearing a Level 3 Wristband.
Return to the girl, talk to her, and after a harrowing sequence, you can finally obtain the Star Quartz… but watch out, the whole stretch of the East Wing is now crawling with zombies!
In true Resident Evil Requiem fashion, survival is never that simple, and what happens next is for you to experience firsthand.
Resident Evil Requiem is now available for the PS5, Switch 2, PC, and Xbox Series X|S.


